
7/23/2012
Okay here we go. Time to draw and cut out the first side of the cabinet! I'm using MDF board for this project.


=========================================================================
7/28/2012
Now laying down the first cut as a template for the second cut. I have to keep in mind the line drawn will make the cut slightly bigger than the original, this can be sanded down later...its better to leave too much than too little.

=========================================================================
8/01/12
Okay here goes the cutting of the second side. I still used a jigsaw, I knew that the second side would be slightly bigger than the first, but that's okay I had a sander standing by to make both sides true to each other.


8/03/12
Today I had some time to use the router and cut the dado for the base on the first side.


I will finish the second side tomorrow.
=========================================================================8/04/12
Side two Dado finished.


=========================================================================
8/07/12
Here goes the first cut for the base.


Base cut out now time to cut out two side panels to instal 3/8 away from the edges for it to fit flush into the sides.


Side panels installed to the base, now time to check how it fits.


=========================================================================
8/08/12
Monitor shelf drawn and cut.


Okay, for my next step I really need the actual monitor to get proper measurements. The monitor is needed to know the height of the monitor base inside so it can be mounted and fitted exactly in the center of the cabinet's monitor section. Unfortunately I had no spare monitors around I could use. I went ahead and ordered a 20 inch LCD monitor online for 75$. Its a 4:3 aspect ratio because I didn't think a widescreen would look correct. I know in the Arcade mame building community LCD's are frowned upon in these cabinets because it doesn't look "authentic" to the old school arcade machines. I do agree with this but it is next to impossible to find a 20inch CRT online or anywhere, plus the LCD will be a lot easier to deal with. The good part is if I don't like the look of it I can always mod the cabinet to hold one. I have already installed the mame emulator on my PC and im running an LCD right now and I think it looks great. So we will see. So that's my update, im kind of stuck until my monitor gets here. Lets hope it takes less than a week!
=========================================================================
8/15/12
The monitor has arrived! I had to make some modifications to the stand due to the fact that it only tilted forward and not backward, which is what I needed it to do to match the angle of the cabinet.


1/01/13 (Happy New Year!)
Well its been about five months later and I've finally moved on to the ledger boards, taking my sweet time that's for sure. I had to take a little break to attend to other things in my life; school, birthdays, holidays etc...
Next step is to cut out the rest of the ledger boards and attach them to the sides.


1/02/13
Next we move on to cutting the back / upper rear / speaker area / and top for the cabinet.


==========================================================================
1/04/12
While I'm waiting for the above items to arrive and to get my hands on a table saw, I went ahead and designed the artwork for the two sides, bezel and marquee. Here is what it will look like with maybe some minor changes before it gets printed.

1/08/12
Today my slot cutter and T-molding arrived. Time to get to cutting! I started off with a practice piece of MDF board to make sure the router was set to cut exactly middle of the 3/4 inch board. It took me a couple of times to get it right, but when I did I fastened everything down and started on the first piece.

This is the practice piece to make sure it was centered


Make sure you have a blower handy to clean up!


Everything turned out perfect for these cuts, it should look pretty good in the end. Next I will be cutting the angles on the rest of the boards with the table saw.
==========================================================================
1/21/13
Today I had to re-cut the upper rear as I learned that it was an inch too short :(. It was just a little speed bump, I had a new one cut in no time with the proper 40 and 35 degree bevels and the proper length 22 1/8.


I have decided to put all the pieces together with clamps and straps to see if everything is lining up the way it should before I permanently screw it all together.


Everything is lining up nicely! My next task will be to find the proper speaker diameter for the speaker board and cut them into place. I'll use circular mesh car speaker covers for the outside and use normal desktop 2.1 speakers.
==========================================================================
The speaker covers came in today, so here is the update showing the covers being cut and installed.


==========================================================================
2/27/13
Today I went ahead and installed the drawer for the mouse and keyboard. This was a bit tricky getting the slide rails mounted just right so everything was lined up, but everything turned out just right.


 That's it for today. Next I will be cutting out the front door and making some more ledger boards for the install.
3/16/13
Well, school and work caught up to me so its been a while since ive got around to doing anything! I have the next couple of days of fortunately and I will be using that time solely for progressing this cab! So here we go, first thing on the list is get the front panel on.


Next I will be adding on the bottom caster wheels!

That's it for today. At this point I am not completely satisfied with the durability of the cab. There needs to be some more added support to get rid of the mid section wobble it has. Tomorrow I will be cutting up some 2x4's to add to the inside giving it some extra stability.
=========================================================================
3/17/13
I forgot to take some pictures of me cutting the 2x4's, but that part isn't that exciting anyway. Here are some pics of what I did to add some stability. This thing is solid as a rock now! This first photo id like to point something out. The added 2x4 is not visible from behind. You cant really tell in this pic but I had to custom fit the 2x4 up against the ledger boards by cutting some groves on either side to make it slide on real nice.


After that I had some more time so I decided to go down to Lowe's and by some DAP to seal all the corners.

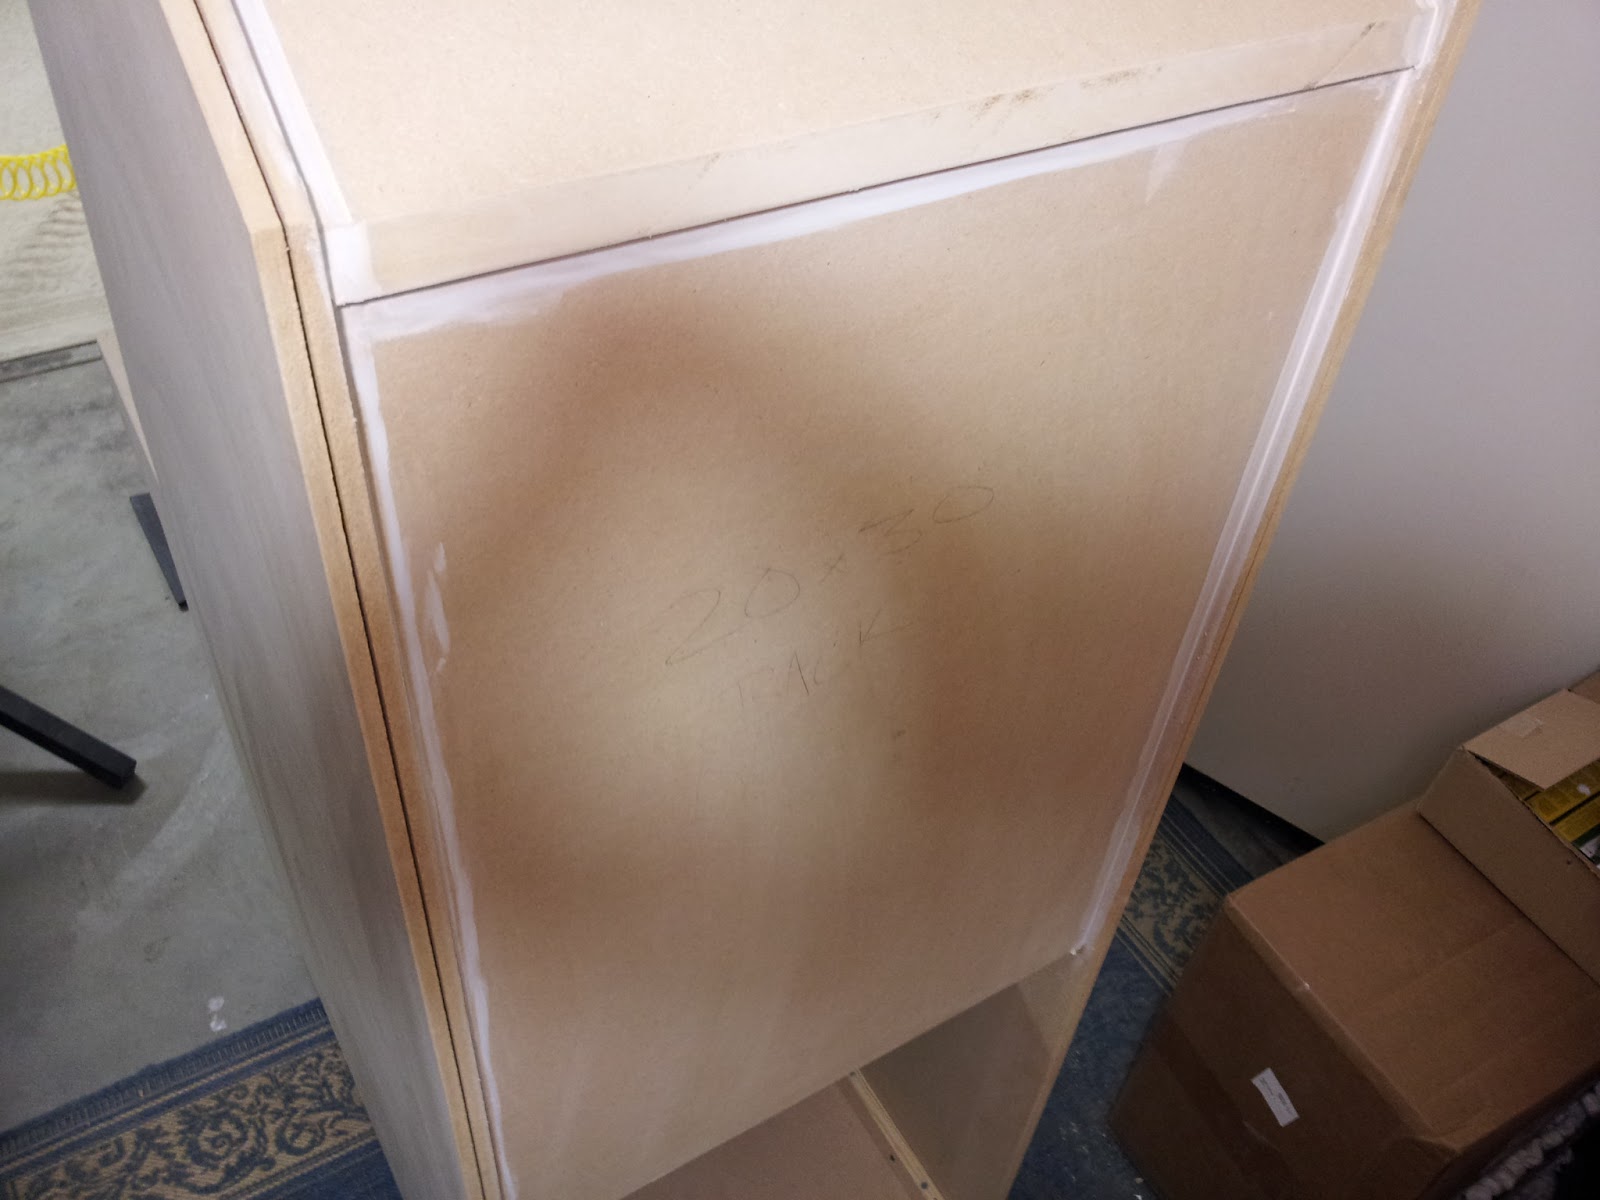


I didn't bother to keep it clean, it will all be sanded down when it comes time for primer and paint.
=========================================================================
3/18/13
I forgot to mention above that I decided to buy myself the X-Arcade Tank Stick with track ball instead of custom building my own control panel. It has a lifetime warranty and all the parts are replaceable and can be traded out for any mod you would like!...that I like!. For this project it actually fits quite nicely with the added tray I built for it below.


=========================================================================
3/20/13
Today is a quick update showing the back light for the marque installed.

My next task will be sanding the whole cabinet down and checking for any inconsistencies before I paint and primer. to be continued....
=========================================================================
3/21/13
Primer and paint time!


Ill let this all dry for at least 24 hours before I bring it in the house. Next will be purchasing the PC to run the whole thing, installing the monitor bezel and side art.
=========================================================================
3/22/13
So here she is with the marquee/monitor bezel, new PC and some new custom Star Wars Vader stools!


Coming up on the final stages of this project I have a few things left to do. One will be custom side art and two will be the glass cover for the monitor bezel. Since I'm getting a little low on money I think I will enjoy this machine for a couple months and continue it later. :)
To be continued...
=========================================================================
7/15/13
Today I installed a temporary plexi-glass in front of the bezel. It will soon be glass. Also I forgot to mention the small blue power button just to the bottom left. This turns the whole system on.

No comments:
Post a Comment